

 Alii errem dolor et vis. Aliquam euripidis forensibus in eam, iudico feugiat no his, sea ex virtute bonorum scribentur
I was writing an article for this site and decided I had some text that I wanted to separate in an “infobox”. Ideally I wanted the infobox to take up about half the space on the right side of my column and for the text to flow round it. Checking in Google I found links to plugins that world achieve this but I also found that plugins can not be installed on sites hosted at WordPress.com.
This article describes how to achieve an Infobox as shown on the right.
At scratch99.com there is an article that explains how to add a box with css. this mentions FTP upload which will however not work with a site hosted at WordPress.com.
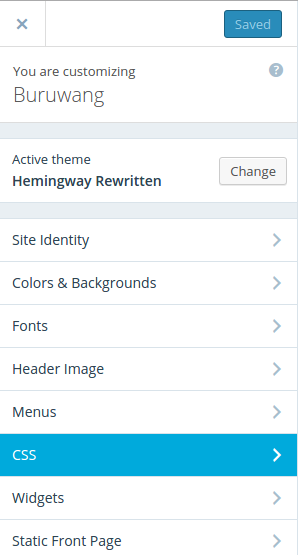
I have the Premium plan at WordPress which allows me to add external CSS by going to the dashboard and selecting appearance and then customize. Here there is a menu point CSS which I can open and add my own CSS. (According to WordPress this option is not available in their free plan so you will need to use inline CSS as described at scratch99)
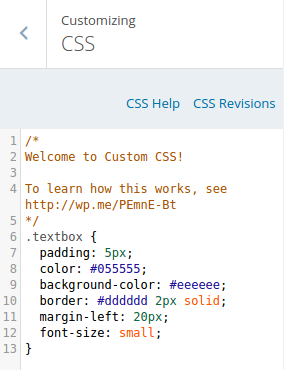
I added
.textbox {
width: 300px;
position: relative;
float: right;
padding: 5px;
color: #055555;
background-color: #eeeeee;
border: #dddddd 2px solid;
margin-left: 20px;
font-size: small;
}
Back in my post I changed to HTML view and added
<p class=”textbox”>…</p>
which created the Info box. The textbox code needs to be added before the code of the paragraph that the box is to be placed next to.
I also wanted an icon in the top left corner so I added an image from the media library at the beginning of the text in the box. Use the HTML view to be sure that the image code is inside the textbox tags.